Walkthrough · Level 2 of 4
Level 2: Digsite & Caves
The longest level, and the one where most people stop. Two timed generators, a tower office, a keypad you have to repair before you can use it, and a Brontosaurus that needs to be blown up rather than outrun.
Verified October 31, 2026Game v1.0.92–3 hours · 5 keypad codes · 2 chases, 1 arena
What this level is
Level 2 is where Terrible Lizards stops being a haunted building and becomes a parkour game. The spaces get vertical, the checkpoints spread out, and the game introduces two structures you will see for the rest of the run: timed doors and hunts — open areas where a monster patrols while you work.
- Monster
- Brontosaurus, twice
- Codes
- 0451 · 7652 · 0978 · 1677 · 0180
- New mechanic
- Balance beams
- Hard wall
- Second generator timer
- Missable
- Camera on the tower table
- Ends with
- The dynamite arena
The level is genuinely long, so it helps to think of it in two halves: the digsite (generators, tower, keypad) and the deep caves (switches, elevator, arena). Each half has one checkpoint-heavy section and one that will kill you repeatedly.
Two generators, two timers
Both generators sit behind doors that close on a timer. The trick is not speed for its own sake — it is knowing the route before you press the button, because the button is always at the start of the corridor, not the end.
First generator
Wait for the Stella call, then go left
The call is a soft checkpoint. After it, head left and jump the crates.Press the button, then commit
The button unlocks the door on your right. Do not press it and then look around — the door is already closing.Follow the cable
There is a generator cable running through the door. Follow it rather than exploring; every side room here is a dead end that costs you the timer.Second button, second door
A second button opens an auxiliary-powered door. Same rule: sprint the route you just saw, do not improvise.Start the generator and leave
Once it is running, follow the path down through the cavern. At the bottom, head right and press the button that opens the door back to base.
Second generator
Find the cable and crawl
From the base, go straight and slightly right to find the second cable. It leads into a crawlspace — this is the only route to the second generator.Take the lift up
On the far side of the crawl there is a lift. Use it to gain height, then continue platforming to the right.Jump the pillar gaps
The generator sits at the end of a pillar-jumping section. The jumps are long but consistent; commit to each one rather than adjusting mid-air.Power it and crawl back
Return through the same crawlspace. There is no second exit, which is intentional — it makes the return trip feel like a retreat.
The foreman's tower (0451)
Crawl out of the second generator route, turn left and climb the stairs to the foreman's tower. The keypad at the top takes 0451 — you are not given a note for this one, because the game assumes you have learned how keypads work by now.
- Press the red button inside to unlock a gate back at base camp.
- Take the camera from the table on the other side of the red button. It is a one-time pickup and extremely easy to walk past.
- The gate you just opened is the route onward. Do not jump back down the stairs expecting a shortcut.
Somewhere in the digsite there is also a worksite door with code 7652, shown on a monitor beside it as “Today's Door Code”. It is a side room rather than a required door, so if you never see it you have not broken anything.
Repairing the bunker keypad
You will reach a bunker door with a keypad that has no power. This is the single most common place people get stuck, because the game does not spell out that the keypad is a fetch quest.
Lower the first platform
Follow the path until a platform hangs above you. Jump and hang on it to pull it down, then use it to climb.Ignore the broken lift
There is a lift beside the bunker. It does not work yet. Head left instead.Climb the rocks and lower more platforms
Take another left past the keypad to find climbable rocks. Lower the platforms here to build a route up to the railing.Follow the railing until it breaks
The railing is the path. When it collapses, head right and use the metal structures to keep climbing.Press the red button, then drop right
At the top, the red button unlocks the gate. Drop down to the right and keep following the linear path until you find a working keypad.Take the parts back
Collect the repair parts from the working keypad, jump down, head right to the bunker, repair it and enter 0978.
The caverns and the beams
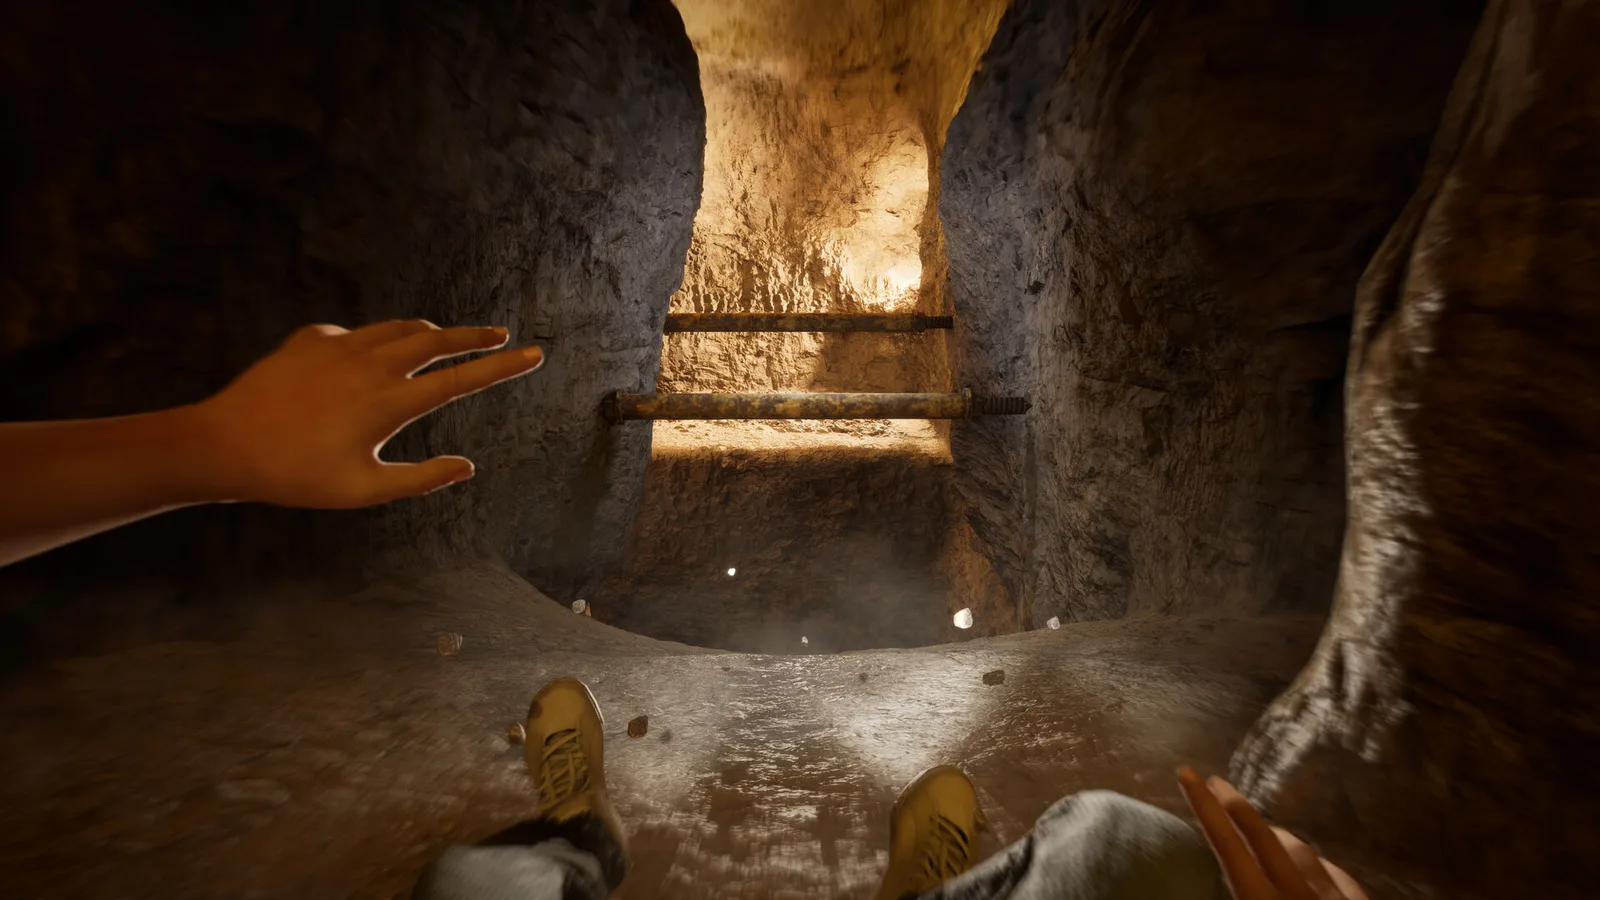
Past the bunker gate, the level opens into the deep caves and introduces balance beams: narrow walkways you cross without sprinting. The Brontosaurus appears while you are squeezing through a narrow passage, which is the game's way of showing you that it can reach places you thought were safe.
- When it leaves, follow the road to your right rather than doubling back.
- The beams are wider than they look. The danger is speed, not the drop — walk them.
- Stella checks in during this section. Her calls are also checkpoint markers, so treat them as permission to slow down.
Three switches, then three kill switches
This is the structural heart of the level and it happens twice, which confuses people. The first set of three switches opens a route. The second set of three closes a problem — they are kill switches, and the Brontosaurus is actively hunting while you throw them.
First set (route switches)
- Head right and up the ladder, then right again to the ledges.
- Climb to the first switch at the top.
- Jump left and keep platforming to the second switch.
- Turn left after the second to find the third.
Second set (kill switches)
When the Brontosaurus starts hunting, Stella tells you to find three more switches. This is a hunt, not a chase: it patrols, you move between objectives. Work in a loop and break line of sight before you stop to interact.
- Leave the bunker and run right for the first switch.
- Go left from there, then left again out of the tunnel for the second.
- Go right from the second for the third.
- Sprint through the tunnel on your right and into the narrow passage at the end to escape.
The elevator shaft (1677)
After the escape, climb the rocks on your left, jump to the platform in front of you, and follow the path through another platforming stretch until you reach the lift area. Stella calls and reads you 1677.
Enter it at the keypad beside the lift, then use the ledges to descend into the elevator shaft. Keep descending until you reach the bottom. This is a long, quiet vertical section — one of the few places in the game that lets you breathe.
Dynamite locker and the arena
At the bottom of the shaft is the safe house. The locker takes 0180 and contains dynamite. Take it. The arena encounter cannot be completed without it, and the locker is the only source.
Open the locker and take everything
0180 on the locker. Take the dynamite before you open any other door in the room.Enter the arena
The Brontosaurus is waiting in an open space with pillars and cover. This is the one fight in the game that is a puzzle rather than a chase.Bait it onto the trap
Position yourself so the creature is over the marked ground, then set off the charge. You are not trying to damage it with the explosion directly — you are removing the floor.Leave through the opened route
Once it falls, the exit is open. The level ends and That's DINO-mite! unlocks, along with the Dead by Daylight charm code.
Spoiler · what the arena actually does
The dynamite collapses the cavern floor under the Brontosaurus. It is the first time the game lets you win something by planning rather than running, and it sets up the pattern for the next two creatures: each one is defeated by its own behaviour rather than by a weapon.
End-of-level checklist
- Camera from the foreman's tower table
- Both generators running (the level does not advance otherwise)
- Dead by Daylight charm code, generated in the main menu
- Any amber on the beam sections — these are the easiest in the game to walk past
- Notes and tapes from the bunker and safe house, which carry most of the Project Pilgrim backstory